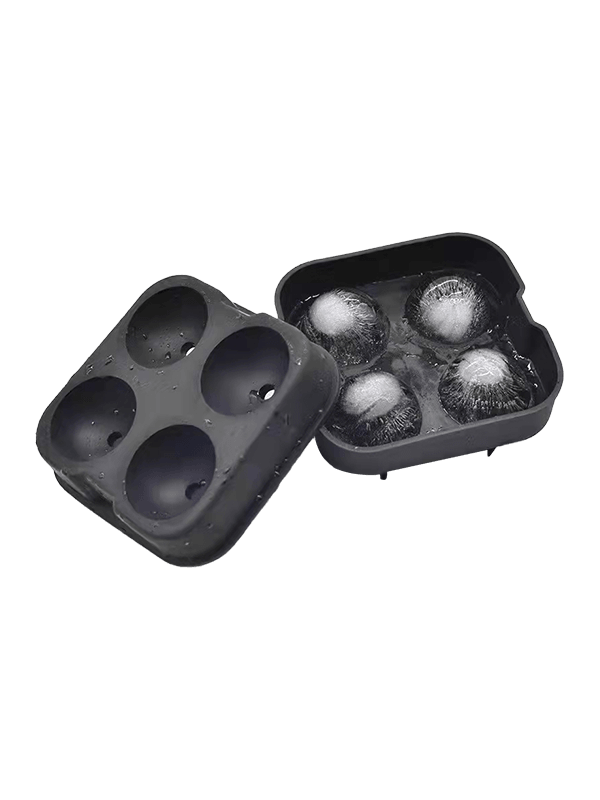
Silicone Kitchen Mold are a revolutionizing tool for modern bakers. They are flexible, easy to use, easy to clean and come in many shapes and sizes. They are also oven, freezer and microwave safe. They also don’t stain or rust like metal pans. These molds can be used to make a variety of baked goods, but they’re also popular for making homemade DIY products. These are usually shaped into fun colors and interesting designs that kids love to make and play with.
The silicone material used to make these bakeware products is food-grade and FDA approved. It is pliable and easy to handle, but it’s not a good idea to place hot silicone cookware directly onto your bare skin. This can lead to a burn. The best way to avoid this is to put on a pair of latex gloves when handling your silicone baking tools. Alternatively, you can use a heat-resistant silicone mitt to protect your hands from burning and to prevent scalding when handling hot items.
One important thing to note when shopping for silicone bakeware is that not all silicone molds are created equal. Some may contain fillers that decrease the overall quality and effectiveness of the product. The best way to ensure you’re getting pure silicone is to do the pinch test – simply pinch the silicone and twist it. If it stays pliable, you’re dealing with 100% silicone. If it becomes hard or white, you’re likely dealing with silicone mixed with other materials.
You’ll also want to be sure the silicone your purchasing is tin cure or platinum cure. Tin cure silicone, which is less expensive, contains chemicals that help it maintain its pliable nature during the curing process. Platinum cure silicone is more expensive and is more effective in allowing you to manipulate the silicone while it’s curing.
Creating your own silicone molds is a fairly simple process, but you’ll still need to know how to properly do it. First, construct your mold housing, which can be as simple as a coated piece of MDF or any other nonporous material that can house the clay and masters you’ll be using. Once you’ve completed this step, lay out your masters inside the mold housing with the detailed surface up and apply a light coat of spray-on mold release to them.
Once the silicone has cured, remove the clay and masters from the mold housing and prepare to cast your next part. The key to successfully making two-part silicone molds is in the casting process, which you’ll need to do twice for each part of your finished product. The first time you cast the part, follow the manufacturer’s instructions for preparing the silicone and pouring it into your mold housing. Once the second silicone has cured, remove the part from the mold housing and gently pull it apart to separate the two pieces of your final product.
Baking with silicone baking molds is an easy and delicious way to transform your favorite recipes and create new ones. With a little bit of practice, you’ll be a pro at making cookies, cakes and so much more in no time.


